
Stunning photos are at your fingertips in the world of iPhone photography. You now possess a potent instrument that can elevate your commonplace experiences into spectacular visual works of art with the newest iPhone 16. Whether you’re just starting with your iPhone or are an experienced photographer, these 16 tips will help you capture stunning photos. The days of needing to lug around cumbersome gear just to take decent shots are over. You may now let your inner artist go with just your reliable iPhone 16 and some basic knowledge. We will guide you step-by-step through everything, from how to stabilize your attention to editing like an expert.
Maintain focus stability for clear images.
One of the key ingredients for capturing stunning images with your iPhone 16 is maintaining focus stability. Blurry photos can be a major disappointment, but fear not! With these simple tips, you’ll ensure that every shot is crystal clear.
Keep your hands steady by using both hands to hold your iPhone firmly. This will minimize any shaking or movement that can result in blurry pictures. Additionally, consider using a tripod or stabilizing device for even greater stability and precision.
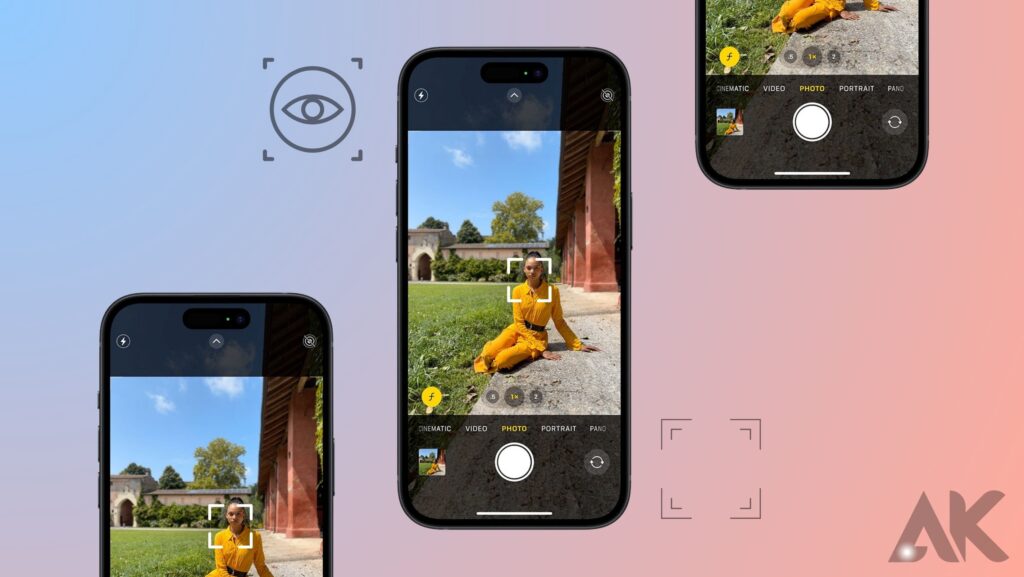
Now that you have a solid grip on your iPhone 16, it’s time to take advantage of its advanced autofocus capabilities. Tap on the screen where you want the focus to be, and let the magic happen. The camera will automatically adjust to bring sharpness and clarity to your subject. Remember to keep an eye out for any alerts indicating if the image is in focus—this little indicator can make all the difference between a mediocre photo and one that truly pops!
By following these focus stability techniques, you’ll capture crisp and clear images with ease using your trusty iPhone 16. So go ahead and get ready to freeze those unforgettable moments in time without worrying about blur or fuzziness spoiling their beauty!
Organize and edit photos like a pro
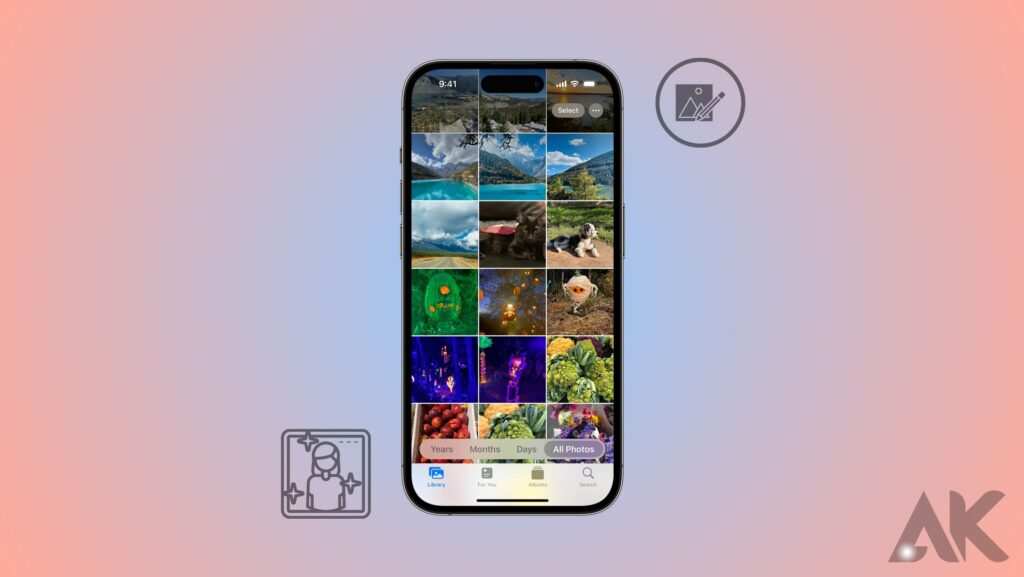
Organizing and editing your photos is a crucial step in taking your iPhone photography to the next level. To begin, create folders or albums on your phone to categorize and store your images. This way, you can easily locate specific photos when needed and maintain a well-organized collection.
When it comes to editing, there are plenty of powerful apps available that can give your photos a professional touch. Experiment with different filters, adjust brightness and contrast levels, crop and straighten images for better composition, and play around with saturation and color balance. By honing these skills, you’ll be able to transform ordinary snapshots into stunning works of art that will impress even the most discerning eye.
How to Take Better Photos with an iPhone: Best Tips and Tricks
The iPhone has revolutionized the way we capture moments, allowing us to take stunning photos with just a few taps on the screen. If you want to up your photography game and take better photos with your iPhone, here are some of the best tips and tricks to help you do just that.
Try shifting your perspective for unique shots. Instead of taking photos from eye level, experiment with different angles and heights. Get down low or climb up high to capture a fresh and interesting perspective that will make your photos stand out from the crowd.
Another tip is to look for details in close-up shots. The iPhone camera allows you to get incredibly close to subjects, so don’t be afraid to focus on small details like textures or patterns. These close-ups can reveal hidden beauty and add depth to your images.
Remember, these are just a couple of tips for taking better photos with your iPhone. Stay tuned as we explore more techniques in our next blog sections!
Shift your perspective for unique shots.
When it comes to capturing stunning shots with your iPhone 16, shifting your perspective can make all the difference. Instead of shooting from eye level, try getting down low or finding a higher vantage point. Changing your perspective adds interest and uniqueness to your photos.
By experimenting with different angles and viewpoints, you can discover new ways to capture ordinary subjects in extraordinary ways. Get close to the ground for a unique worm’s-eye view or climb up high for an impressive bird’s-eye perspective. Don’t be afraid to get creative and think outside the box when it comes to choosing your shooting position. Shifting your perspective allows you to see things in a whole new light and create truly memorable images that stand out from the crowd!
Look for details in close-up shots.
When it comes to photography, sometimes the smallest details can make the biggest impact. That’s why it’s important to always be on the lookout for interesting subjects and textures in your close-up shots. Whether it’s a delicate flower petal or a fascinating pattern on a building facade, capturing these intricate details can add depth and intrigue to your photos.
So, next time you’re out with your iPhone 16 camera, take a moment to observe your surroundings. Get up close and personal with objects that catch your eye. Explore different angles and perspectives to highlight unique features. You’ll be amazed at how these small details can transform an ordinary shot into something extraordinary.
Utilise the Rule of Thirds and Grid
When it comes to capturing stunning shots with your iPhone 16, one technique that can instantly take your photography game to the next level is utilizing the rule of thirds and grid. This simple yet powerful composition guideline helps you create visually appealing and balanced images.
To utilize the rule of thirds, imagine breaking down your photo into a grid with three vertical and three horizontal lines. The intersecting points where these lines meet are known as the “power points.” By placing key elements of your subject along these power points or the lines themselves, you can create a more dynamic and engaging composition. This technique adds interest and draws the viewer’s eye into different parts of the image, resulting in visually captivating photos.
Additionally, activating the grid feature in your iPhone camera settings will ensure that you have this helpful tool at all times while shooting. It provides visual reference lines right on your screen, making it easier than ever to align subjects perfectly within those desired areas using the rule of thirds principle. So next time you’re out taking photos with your iPhone 16, don’t forget to utilize this handy trick for creating beautifully composed shots!
Find Leading Lines for Dynamic Composition
Leading lines can add a sense of motion and dynamism to your iPhone photos. Look for natural or man-made elements that create strong lines leading the viewer’s eye through the image. This could be a road, a pathway, a fence, or even the branches of trees. Experiment with different angles and perspectives to find the most impactful composition.
Leading lines not only draw attention to your subject but also create depth and visual interest in your photos. They can guide viewers’ gaze towards specific details or points of interest in the frame. So next time you’re out shooting with your iPhone, keep an eye out for those leading lines that will take your compositions from ordinary to extraordinary!
Create a sense of depth in your photos.
One of the key elements that can take your iPhone photography to the next level is creating a sense of depth in your photos. By adding layers and dimensions, you can make your images more immersive and visually appealing.
To create a sense of depth, try incorporating foreground elements into your composition. This could be anything from a tree branch or flowers up close to an interesting object placed strategically in front of your main subject. By doing this, you not only add visual interest but also provide perspective for viewers, making them feel like they are part of the scene.
In addition to foreground elements, utilizing leading lines can also help create depth in your photos. Look for natural or man-made lines such as roads, fences, or pathways that lead the viewer’s eye deeper into the image. This technique adds a dynamic element and draws attention to different areas within the frame. Experiment with different angles and perspectives to find unique ways to incorporate depth into your iPhone photography.
Experiment with Symmetry
Experimenting with symmetry can add a touch of elegance and balance to your iPhone photos. Symmetry is all about finding perfect harmony in your composition, whether it’s through mirror-like reflections or perfectly aligned elements.
One way to achieve symmetrical shots is by using the grid feature on your iPhone camera. This will help you align your subject along the vertical or horizontal lines, creating a visually pleasing result. Remember to pay attention to details and ensure that both sides of the frame are equally balanced. By incorporating symmetry into your photography, you can create stunning images that evoke a sense of order and beauty.
Keep it simple for a clean and powerful image.
When it comes to capturing stunning shots with your iPhone 16, sometimes less is more. Keeping it simple can often result in a clean and powerful image that grabs the viewer’s attention. By eliminating distractions and focusing on your subject, you can create a visually striking photo.
One way to achieve simplicity is by using negative space effectively. Give your subject room to breathe by leaving space around it. This not only draws attention to the main element but also brings a sense of balance and harmony to the composition. Remember, simplicity doesn’t mean boring; it means finding beauty in minimalism.
By utilizing this technique, you can create captivating images that leave a lasting impression on viewers. So next time you’re out shooting with your iPhone 16, consider simplifying your compositions for maximum impact!
Choose the Right Orientation for Your Subject
When it comes to capturing the perfect shot with your iPhone 16, one important aspect to consider is the orientation of your subject. Whether you’re photographing a landscape or a person, choosing the right orientation can make all the difference in creating a visually appealing image.
Experimenting with both horizontal and vertical orientations allows you to explore different perspectives and compositions. For example, if you’re photographing a stunning sunset over the ocean, a horizontal orientation can help capture the vastness of the scene and emphasize its width. On the other hand, if you want to focus on details or create an intimate portrait, using a vertical orientation can enhance those elements and provide a more immersive experience for viewers.
By carefully selecting the orientation that best suits your subject and desired outcome, you have greater control over how your audience perceives your photos. So don’t hesitate to try out different orientations when shooting with your iPhone 16—you never know which one will result in that breathtaking shot!
Use Portrait Mode for Beautiful Portraits
When it comes to capturing beautiful portraits with your iPhone 16, one feature that you want to take advantage of is Portrait Mode. This incredible tool allows you to create stunning images with a shallow depth of field, making the subject stand out and creating a professional-looking effect.
With Portrait Mode, your iPhone automatically adds a soft blur in the background, giving your portraits a professional touch. It beautifully separates the subject from the surroundings, allowing them to take center stage and be the focal point of the image. Whether you’re snapping photos of friends and family or even pets, using Portrait Mode will instantly elevate your photography game and make your portraits look like they were taken by a seasoned pro.
Remember, when using Portrait Mode on your iPhone 16 for portraits, ensure that there is enough distance between your subject and the background. This will help achieve that desired blurred effect while keeping your main focus sharp and clear. Experiment with different angles and poses to capture unique shots that truly showcase personality and emotion. So go ahead and unleash your creativity—portrait photography has never been easier or more impressive than with the iPhone 16’s amazing capabilities!
Stage your shot for interesting scenes.
When it comes to capturing stunning photos with your iPhone, staging your shot can make all the difference. By carefully setting up your scene, you can create captivating images that tell a story and draw viewers in. Consider the composition of your shot and think about what elements you want to include or exclude from the frame.
One way to stage your shot is by rearranging objects or props within the scene. Experiment with different arrangements to find the most visually appealing composition. You can also play around with lighting by using natural light or adding artificial sources to enhance the mood of your photo. Don’t be afraid to get creative and try different angles or perspectives; sometimes a simple change in viewpoint can completely transform an ordinary scene into something extraordinary.
Use the camera timer for steady shots.
One of the challenges in capturing steady shots is keeping your hands still while pressing the shutter button. This is where the camera timer comes to the rescue! By using this feature, you can set a countdown before the photo is taken, giving you enough time to stabilize your iPhone and eliminate any unwanted shake.
To use the camera timer on your iPhone, simply open the Camera app and select either 3 seconds or 10 seconds from the timer options. Once you’ve chosen your preferred duration, prop up your phone or place it on a stable surface. Then, strike a pose or frame your subject as desired. The camera will automatically take the shot after the selected delay, ensuring sharp and blur-free images.
Using the camera timer not only helps with steadying shots but also allows for more creative compositions. You can experiment with different angles or even include yourself in group photos without rushing back into position. So next time you want to capture a steady shot without any hand movements impacting image quality, don’t forget to utilize this handy feature on your iPhone!
Adjust Focus and Exposure Settings for Optimal Results
Adjusting focus and exposure settings can make a huge difference in the quality of your iPhone 16 photos. To achieve optimal results, start by tapping on the screen where you want to set the focus. This will ensure that your subject is sharp and clear. You can also adjust the exposure manually by swiping up or down on the screen to brighten or darken the image.
By taking control of these settings, you have more creative freedom and can capture stunning shots in various lighting conditions. Experiment with different focus points and exposure levels to find what works best for each scene. With a little practice, you’ll be able to create beautifully balanced images that truly stand out!
Avoid overexposure to balanced lighting.
One common issue in smartphone photography is overexposure, where the image appears too bright and washed out. This can happen when there’s too much light hitting the camera sensor, resulting in a loss of detail and a lack of depth in the photo.
To avoid overexposure and achieve balanced lighting, it’s important to control the exposure settings on your iPhone. You can do this by tapping on different areas of your screen to adjust the focus and exposure points. Additionally, you can use HDR mode (High Dynamic Range) to capture more details in both bright and dark areas of your photo.
By being mindful of these techniques, you’ll be able to capture stunning images with well-balanced lighting that showcases every intricate detail. So next time you’re taking photos with your iPhone, remember to avoid overexposure for a more visually appealing result!
Conclusion
With these iPhone 16 photography tips and tricks, you can elevate your smartphone photography game to a professional level in no time. Whether you’re capturing breathtaking landscapes, stunning portraits, or compelling close-ups, these techniques will help you capture the moment with clarity and creativity. Remember to maintain focus stability for clear images by keeping steady hands or using a tripod. Take advantage of the various editing tools available on your iPhone to organize and enhance your photos like a pro.
Shift your perspective and look for details in close-up shots to add interest and uniqueness to your images. Utilize the rule of thirds and grid lines to create balanced compositions that draw the viewer’s eye. Seek out leading lines that lead the viewer through the image for dynamic composition. Experiment with symmetry and use it as a powerful tool to create visually pleasing photographs. Sometimes simplicity is key—keep your composition clean and uncluttered for maximum impact.
Choose the right orientation for your subject—whether it’s landscape or portrait—to highlight its best features. Take advantage of Portrait Mode for beautiful portraits with depth-of-field effects.
FAQS
How do I use my iPhone camera for the best photography?
The Five Most Effective Ways to Enhance the Quality of Your iPhone Photos
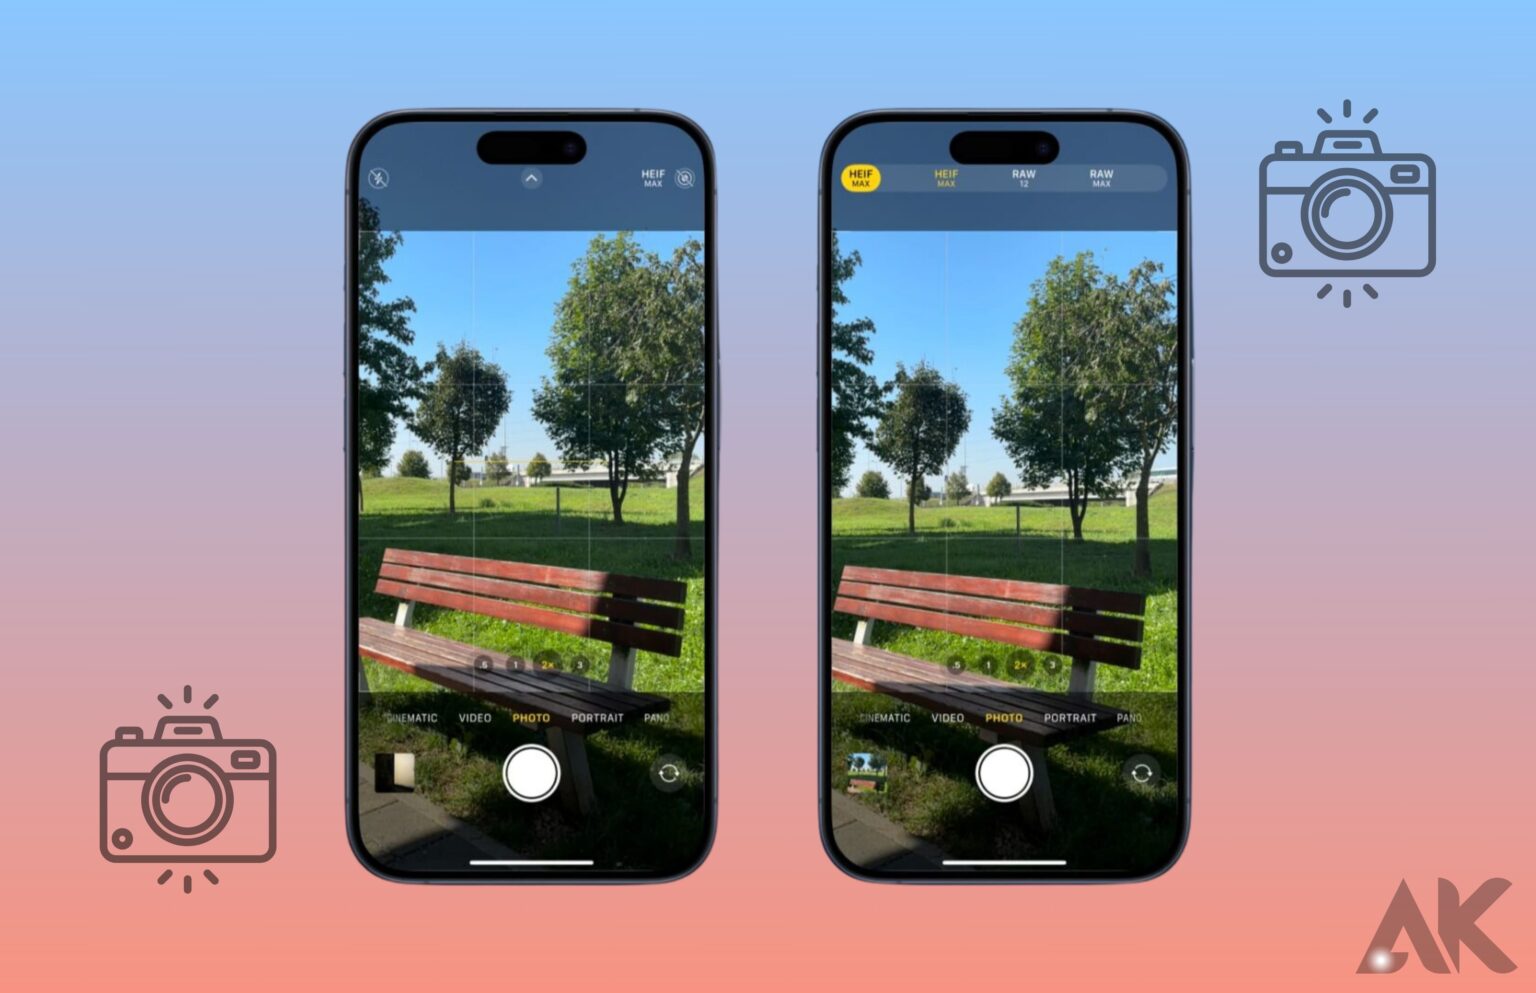
You should save your files in RAW format. You have more leeway in post-processing when you shoot in RAW.
Grid with the Rule of Thirds. A beautifully composed shot has the power to transform a scene.
Enable HDR auto mode. This one is significant.
Manually adjust the exposure.
Keep camera presets.
How do you blur the background on an iPhone?
Launch the iPhone’s Photos app. Select a photo to see it in full-screen mode when in Photo mode; next, touch Edit. Finally, tap Portrait on the top menu. The slider for depth control allows you to adjust the blurring of the portrait’s background.