
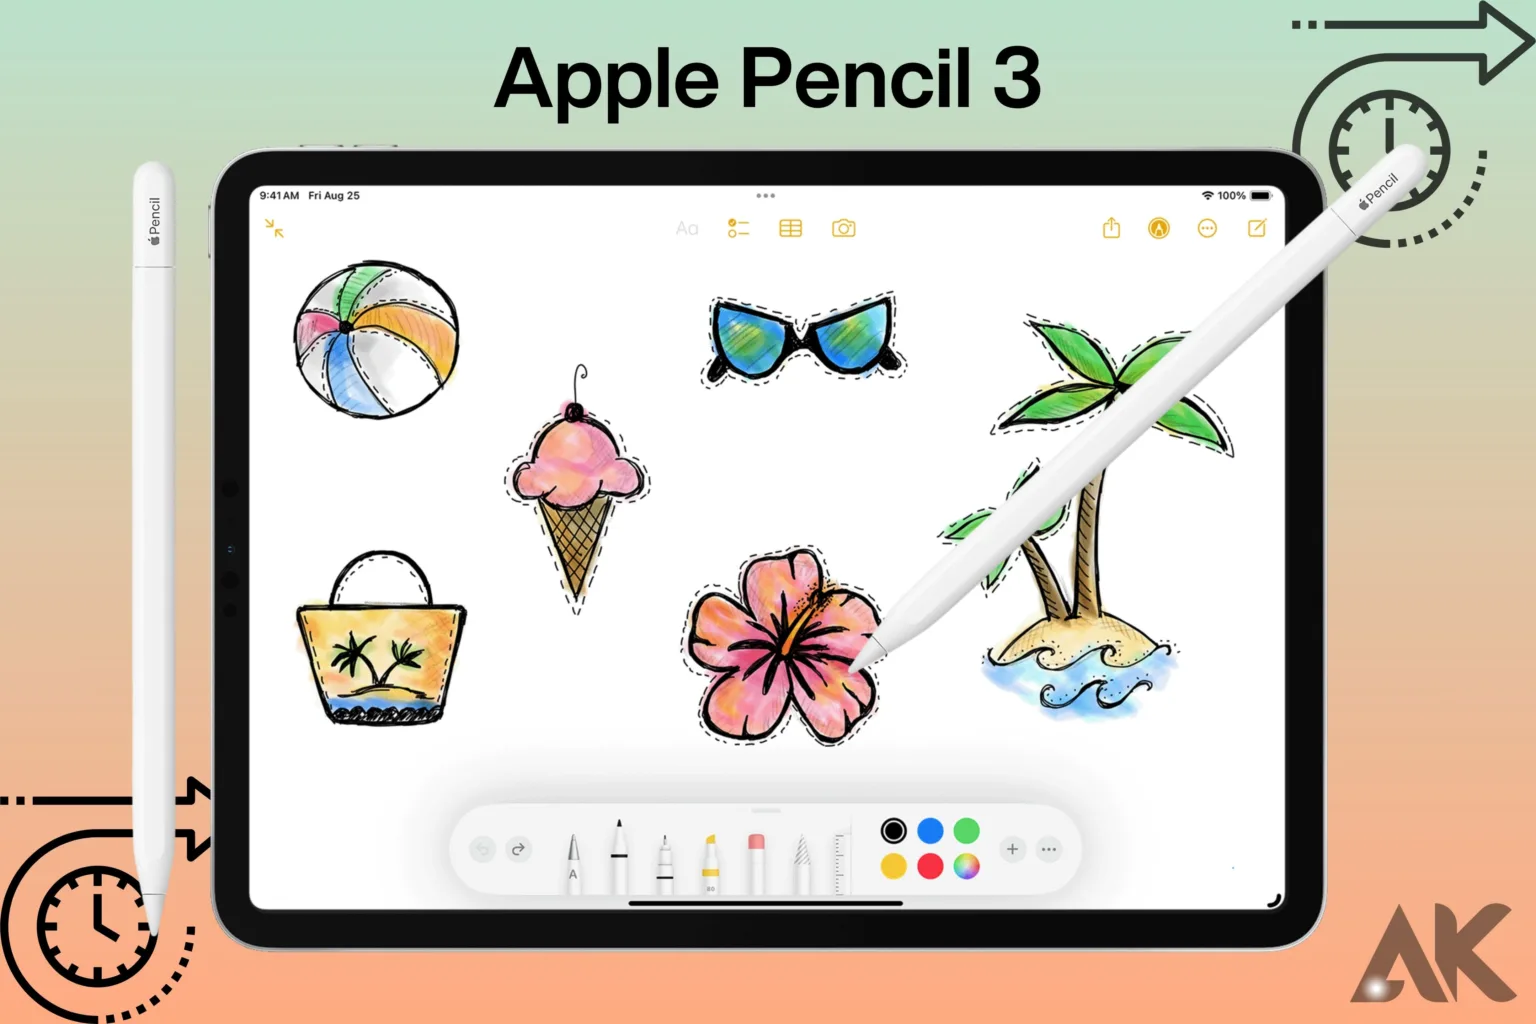
Here is our step-by-step guide on how to use Apple Pencil 3 successfully in the year 2024. This complete tutorial will help you get the most out of your artistic tool, no matter how experienced you are or how new you are to it. The Apple Pencil 3 works smoothly with devices that are compatible with it, whether you’re drawing or taking notes. We will show you How to use Apple Pencil 3 in every way, from the basics to more advanced skills, so that you can get the most out of it. With the Apple Pencil 3, you can improve your digital job and let your creativity flow. Let’s jump right in!
Introducing the Apple Pencil 3
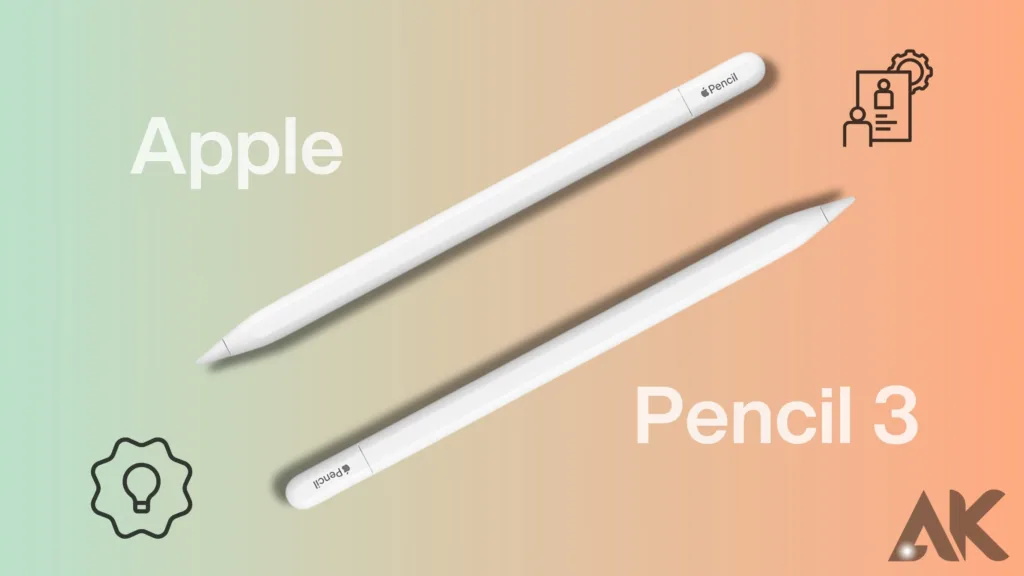
The Apple Pencil 3 is the newest version of Apple’s well-known stylus, which is known for being precise and quick. Building on the success of its predecessors, the Apple Pencil 3 has better features and a better style, making it an essential accessory for iPad users. Learning how to use Apple Pencil 3 correctly can greatly improve your creativity and output, no matter if you’re an artist, a student, or a worker.
First and foremost, it’s important to know how the Apple Pencil 3 works in its most basic form. To begin how to use Apple Pencil 3, make sure that your iPad can work with the Apple Pencil 3. Not all iPads can. Once you’re sure, connecting the Apple Pencil 3 to your iPad is a breeze. Just magnetically attach it to the side of your iPad, and it will connect itself. For a more usual method, you can also pair it through the Bluetooth settings.
After connecting the Apple Pencil 3, get used to the different functions and gestures it can do. The Apple Pencil 3 has a lot of different features that you can try. You can use it to do exact drawing and writing, as well as to move through menus and make notes on documents. Try it out at different angles and pressure levels to see what it can really do.
Additionally, using apps that are compatible and designed for the Apple Pencil 3 can make your experience even better. Each app, like Procreate for sketching, Notability for taking notes, and Adobe Photoshop for editing pictures, has its own tools and settings that work best with the Apple Pencil 3.
In conclusion, learning how to use Apple Pencil 3 gives iPad users a lot of new options and lets them be more creative and productive than ever before. The Apple Pencil 3 is a flexible tool that fits your needs perfectly, whether you’re an experienced artist or just like to take notes on the go.
Unboxing and Setting Up
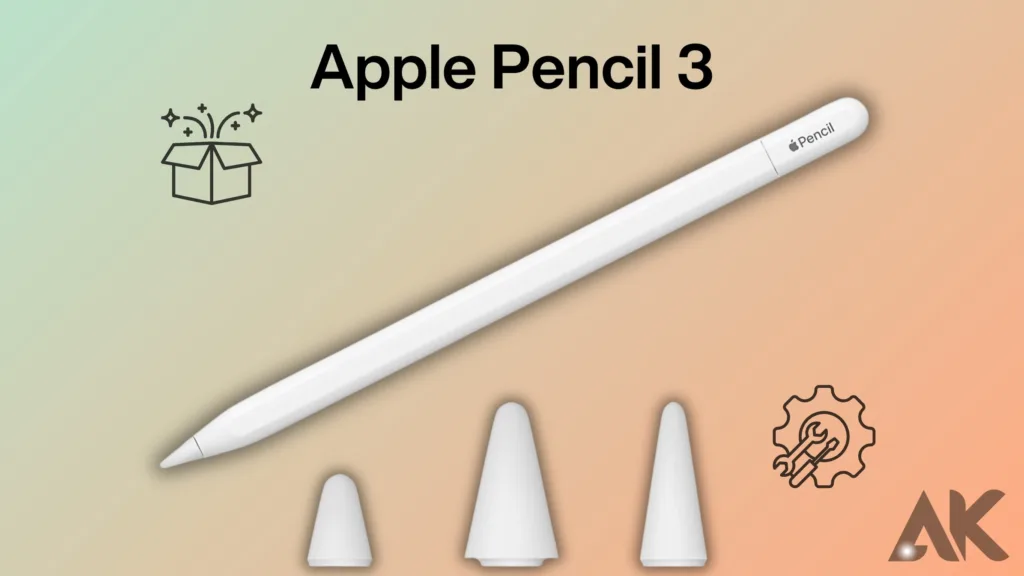
How to use Apple Pencil. When you take your Apple Pencil 3 out of the box, you’ll find the sleek stylus inside along with a charging wire. To use your Apple Pencil 3, just take it out of its case and follow the on-screen directions to connect it to your iPad via Bluetooth. This initial setup process is necessary to make sure that your Apple Pencil 3 and iPad can connect and work together without any problems.
Once you have paired the Apple Pencil 3, it is very important to learn How to use Apple Pencil 3. Whether you’re sketching, taking notes, or adding notes to papers, knowing how to use Apple Pencil 3 well can make your iPad experience much better. Try using different amounts of pressure and hand movements to get the most out of it.
You can also boost your productivity and creativity by discovering the wide range of apps that work with and are optimized for the Apple Pencil 3. Each app has its own tools and features that are compatible with the Apple Pencil 3. These range from making digital art to taking notes by hand and making precise changes. Adding the Apple Pencil 3 to your routine can help you get more done and be more creative, no matter if you’re a professional artist or a student.
Finally, learning how to use Apple Pencil 3 is important if you want to get the most out of it and open up a world of iPad options. By following a few easy steps to set up the Apple Pencil 3 and getting to know its features, you can use its accuracy and quickness to get more done and be more creative.
Pairing with iPad
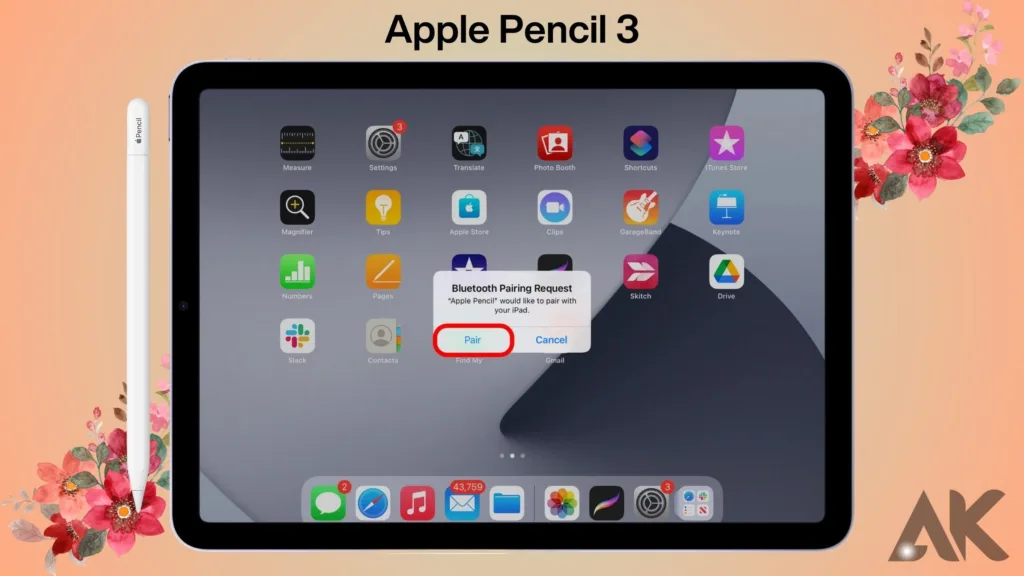
How to use Apple Pencil 3. It’s very easy to connect your Apple Pencil 3 to your iPad. When you bring the pen close to your iPad, a message will show up on the screen telling you how to pair the two. To finish pairing your Apple Pencil 3, just follow the on-screen instructions. It will then be ready to use. This initial setup is very important to make sure that all of your devices can join and work properly, setting the stage for a smooth user experience.
Once you’ve paired the Apple Pencil 3, you need to learn how to use all of its features and movements. Once you know how to use the Apple Pencil 3 correctly, you can be much more productive and creative on your iPad. Learning how to use Apple Pencil 3 properly lets you use it to its fullest whether you’re drawing, making notes, or annotating papers.
Some apps work well with the Apple Pencil 3 and can make your experience even better. Because of how precise and quick the Apple Pencil 3 is, these apps have tools and features that work best with it. You can easily get professional-level results and speed up tasks by adding the pen to your favorite apps.
To sum up, you need to know how to use Apple Pencil 3 to get the most out of it and use all of its features on the iPad. By learning how to use Apple Pencil 3’s basic setup steps and more advanced features, you can take your imagination and productivity to a whole new level. The Apple Pencil 3 is a flexible tool that can change to fit your needs with ease, whether you’re a digital artist, a student, or a worker.
Navigating the Apple Pencil 3
How to use Apple Pencil 3. The Apple Pencil 3 has a lot of easy-to-use settings that make it easier to use. Two-tap flexibility is one of these features. It makes it easy to switch between tools. In the middle of a creative project and need to quickly switch between drawing tools or functions, this feature comes in very handy. Another great thing about the Apple Pencil 3 is that it works perfectly with the iPad because it pairs with the device so easily. Learning how to use Apple Pencil 3 correctly can make your iPad work much better and help you get more done.
The Apple Pencil 3 also has a built-in battery that can be charged easily using the Lightning port on your iPad. You don’t need to carry around extra chargers or cables because you can just plug your Apple Pencil 3 into your iPad to charge it quickly. The Apple Pencil 3 has a long battery life, so you can focus on your work without having to check the stylus’s power levels all the time.
Furthermore, discovering the various apps that are compatible and optimized for the Apple Pencil 3 can make your experience even better. When used with the Apple Pencil 3, these apps offer a wide range of features and functions that work well with its accuracy and speed. There’s an app for everything, whether you want to draw, take notes, or edit pictures. If you learn how to use Apple Pencil 3 correctly, you can get the most out of it and reach new levels of creativity.
Exploring the Drawing and Writing Tools
How to use Apple Pencil 3. You can be artistic with the Apple Pencil 3 because it has many drawing and writing tools. Its pressure sensitivity and tilt recognition technology make it easy to draw exact lines and shades. This makes it a great tool for designers and artists who want to accurately and fully bring their digital works to life. The pen also has palm-rejection technology, which lets you rest your hand on the screen without worrying about leaving marks you didn’t mean to. You can fully utilize the advanced features of the Apple Pencil 3 and make beautiful artwork or precise handwritten notes if you know how to use Apple Pencil 3 correctly.
Also, getting to know the different drawing and writing apps that work best with the Apple Pencil 3 can help you be more creative. You can easily try out different techniques and styles with these apps because they have a lot of tools and features that work with styluses. There’s an app for everything, whether you want to draw complicated pictures, write down thoughts, or make notes on documents.
You can also get the most out of the Apple Pencil 3 by trying out different ways to draw and write. You can give your digital art unique effects and textures by changing the pressure, angles, and lines. If you know how to use Apple Pencil 3 correctly, you can be more creative with confidence and accuracy, whether you’re a skilled artist or just like to draw on the side. Now that you have the Apple Pencil 3, dive into the world of digital art and taking notes, and let your ideas run wild.
Customizing Settings in iPad
To get the most out of your Apple Pencil 3, you need to change the settings on your iPad. Understanding the customization options is the first step in how to use Apple Pencil 3 successfully. In the settings area of your iPad, you can find a wealth of options for fine-tuning how your stylus works. By adjusting settings like pressure sensitivity and double-tap functions, the How to use Apple Pencil 3 can be improved.
You can make sure that the pencil answers exactly to your touch by changing the pressure sensitivity. This is useful whether you like a lighter or heavier stroke. Additionally, setting up the double-tap feature lets you give simple tap tasks like switching between tools or activating the eraser. With these customization choices, you can make the Apple Pencil 3 fit your specific art and work style.
How to use Apple Pencil 3 isn’t just about how to hold it; it’s also about how to make it work with your other digital art tools. So, check out the settings on your iPad to see what kinds of changes you can make and use your Apple Pencil 3 to its fullest. You can improve your digital art and productivity by making a few small changes here and there. Try new things with your Apple Pencil 3 and make it truly your own.
Tips for Enhancing Productivity
To be productive with the Apple Pencil 3, you need to learn how to use Apple Pencil 3 in many different ways. Many people are curious about how to use Apple Pencil 3 effectively, and for good reason. When taking notes, the first thing you should think about is how flexible the Apple Pencil 3 is. It’s not enough to just write down ideas; you should also use its features to make your work easier. Trying out different ways to take notes can help you get more done.
Find the method that works best for you of how to use Apple Pencil 3, whether it’s standard bullet points or mind mapping. Learn more about computer sketching and drawing as well. This is where the Apple Pencil 3 really shines. You can give your creations more depth and accuracy by using the tilt and pressure sensitivity features. The best way to use the Apple Pencil 3 in this situation is to practice with different brush styles and get good at using gesture movements.
You can turn your sketches from simple shapes into complex works of art by getting to know these tools. Don’t forget that work isn’t just about speed; it’s also about getting the most done without sacrificing quality. With the Apple Pencil 3, users can do just that. So, check out what it can do, try out different techniques, and see for yourself how this new pen can change the way you work.
Troubleshooting Common Issues
When trying to fix common Apple Pencil 3 problems, it’s important not to get upset. At first, problems with connectivity or not responding may seem scary, but they’re usually very easy to fix. When you run into these kinds of problems, don’t be afraid to look at the user instructions or look for help online. When fixing, it’s very important to know how to use Apple Pencil 3 effectively. First, make sure that your Apple Pencil 3 has enough power. If it doesn’t, it could have trouble connecting.
To fix the issue, try pairing your Apple Pencil 3 with your device again. This easy step can often fix problems with connection and get things working again. It might also be helpful to look for any actual damage or debris that is blocking the connection points. Remember that troubleshooting is a thorough way to find and fix possible problems.
If you want to do this well, you should know how to use the Apple Pencil 3. If you follow these steps and don’t give up, you can quickly fix common problems with your Apple Pencil 3 and get back to liking how smoothly it works. Don’t worry the next time you have problems with contact or responsiveness—just look at the user manual or online guides and use what you know about how to use Apple Pencil 3 to fix the problem.
Compatibility with Third-Party Apps
You can show your creativity in a lot of different ways by checking to see if your Apple Pencil 3 works with third-party apps. The Apple Pencil 3 works perfectly with a huge number of apps, making your digital experience better whether you’re drawing, taking notes, or designing graphics. Third-party apps can make your Apple Pencil 3 more useful by adding new features and making it easier to use for a wide range of artistic tasks.
With the Apple Pencil 3, you can explore new artistic areas in apps like Adobe Photoshop and Procreate. This lets you bring your ideas to life with precision and style. To get the most out of the Apple Pencil 3, you need to know how to use Apple Pencil 3 correctly in these third-party apps. You can get the most out of your Apple Pencil 3 by getting to know the different features and functions that each app offers.
How to use Apple Pencil 3. Try out a variety of tools, brushes, and methods until you find the best way to work that fits your artistic style. With the Apple Pencil 3’s ability to work with third-party apps, there’s something fun and interesting for everyone, from experienced artists to new watercolor fans. So, dive into the rich world of third-party apps and use the flexible and easy-to-use Apple Pencil 3 to unleash your creativity like never before.
Conclusion
Finally, learning how to use the Apple Pencil 3 opens up a whole new world of digital creativity. This new tool changes the way artists and producers work by being more precise and responsive than anything else on the market. Following the advice in this detailed guide will give you the skills and information you need to get the most out of your Apple Pencil 3. Take advantage of how flexible it is and how well it works with other devices and apps to take your artistic work to new levels. You can explore and come up with new ideas while using the Apple Pencil 3. It will help you push the limits of what’s possible in the digital world.
FAQS
Q1: Can I use the Apple Pencil 3 with older iPad models?
A: The Apple Pencil 3 is compatible with select iPad models, including the iPad Air (4th generation) and iPad Pro (3rd generation) and later models.
Q2: Does the Apple Pencil 3 require charging?
A: Yes, the Apple Pencil 3 features a built-in battery that requires periodic charging via your iPad’s Lightning port.
Q3: Can I customize the double-tap feature on the Apple Pencil 3?
A: Yes, you can customize the double-tap functionality of the Apple Pencil 3 within your iPad’s settings menu to perform various actions.
Q4: Is the Apple Pencil 3 compatible with screen protectors?
A: Yes, the Apple Pencil 3 is compatible with most screen protectors, ensuring smooth and precise performance.
Q5: Can I use the Apple Pencil 3 for handwriting recognition?
A: Yes, the Apple Pencil 3 supports handwriting recognition, allowing you to effortlessly convert handwritten notes into digital text.