

Having problems with your MacBook Air’s VPN? Yes, there is a solution, and you are not alone. It may be annoying to solve VPN troubleshooting MacBook Air, particularly if all you’re trying to do is access business tools or surf safely.
Don’t worry, however! A few easy adjustments can resolve the majority of problems. We’ll go over seven professional methods in this tutorial that will help you troubleshoot your MacBook Air’s VPN quickly and easily. Whether it’s connection dropouts, poor speeds, or applications not operating correctly, we’ve got you covered.
These easy-to-follow instructions will let you quickly go back online with a reliable, secure VPN connection. Are you prepared to resolve your VPN issue and resume seamless browsing? Let’s explore the effective solutions.
Why VPN troubleshooting MacBook Air Matters

Your MacBook Air is designed for speed, portability, and performance. However, VPN-related issues can undermine all of that. A faulty VPN not only interrupts your workflow or streaming session, but it can also leave your data vulnerable. That’s why knowing how to tackle VPN troubleshooting MacBook Air problems is essential for any Mac user who values secure and seamless connectivity.
Table: Common VPN Issues on MacBook Air and Quick Fixes
| VPN Issue | Possible Cause | Quick Fix |
|---|---|---|
| VPN won’t connect | Wrong settings or server error | Reset server or check credentials |
| Frequent disconnects | Network instability | Switch to a wired or stable Wi-Fi |
| Slow internet with VPN | Overloaded server | Change VPN server or protocol |
| Apps not working with VPN | DNS or firewall conflict | Use split tunneling or reset DNS |
| VPN won’t start at boot | App settings misconfigured | Enable auto-start in VPN settings |
Tip 1: Restart the VPN and Your MacBook Air
For VPN troubleshooting MacBook Air, It may sound simple, but restarting your VPN client and MacBook Air is often the quickest way to resolve temporary glitches.
Steps:
- Quit the VPN app completely (use
Cmd + Q) - Reboot your MacBook Air
- Open the VPN app again and reconnect
This refresh clears out temporary files and resets network adapters, which often resolves connection failures and crashes.
Tip 2: Update Your VPN App and macOS
Using outdated software is a common cause of compatibility problems.
Why It Matters:
- VPN providers regularly update apps to fix bugs, improve performance, and support the latest macOS versions.
- macOS updates may also include critical networking and security enhancements.
Action Steps:
- Go to your VPN app > Check for Updates
- Navigate to
System Settings > General > Software Updateon macOS
Make sure both your VPN software and macOS are fully updated to reduce the chances of technical mismatches or instability.
Tip 3: Switch VPN Protocols for Better Performance
Different VPN protocols offer varying levels of speed and security. If your VPN is sluggish or failing to connect, changing the protocol can often resolve it.
Common VPN Protocols:
- OpenVPN: Balanced security and speed
- IKEv2/IPSec: Great for mobile users and reconnection
- WireGuard: Fastest, modern, and lightweight
- L2TP/IPSec: Older, less secure, but widely compatible
How to Switch:
- Open VPN settings
- Locate the protocol section
- Select a different protocol and reconnect
Experiment with these to find which works best for your MacBook Air’s hardware and network.
Tip 4: Adjust macOS Network Settings
Sometimes, your MacBook Air’s network settings conflict with VPN configurations.
Key Areas to Check:
- DNS Settings: Custom DNS entries may clash with your VPN’s servers.
- Firewall: May block VPN ports.
- Network Locations: Old or conflicting profiles may cause issues.
How to Reset Network Settings:
- Go to
System Settings > Network - Select your active connection (Wi-Fi or Ethernet)
- Click
Details>TCP/IP - Click “Renew DHCP Lease”
- Also, try removing unused network profiles
Resetting or streamlining your network settings can improve VPN stability dramatically.
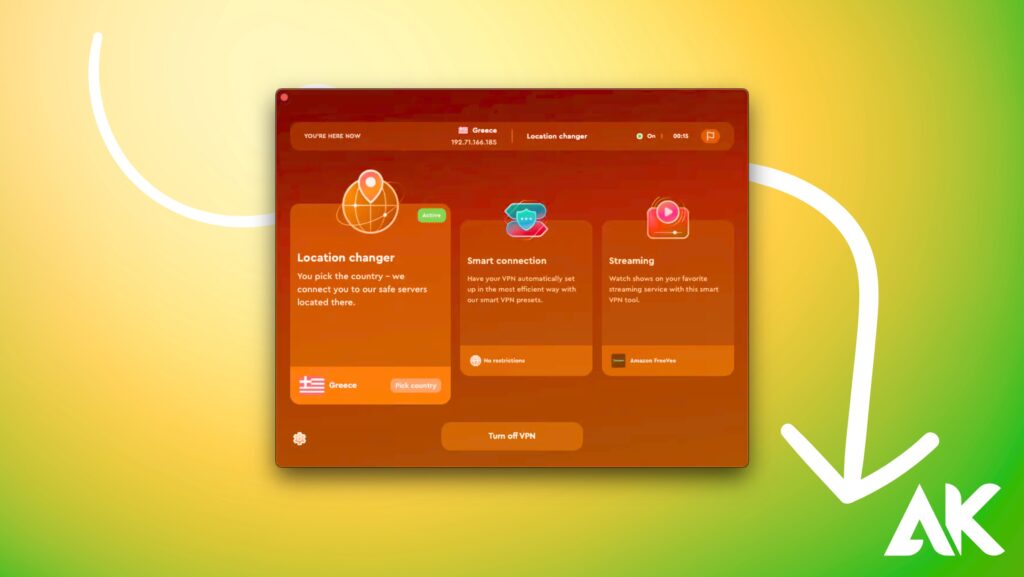
Tip 5: Use Split Tunneling (If Available)
If certain apps are not working correctly while the VPN is on, try using split tunneling.
What Is Split Tunneling?
It allows you to route some traffic through the VPN and others through your normal internet connection. Useful for:
- Streaming apps that block VPNs (like Netflix or Hulu)
- Banking apps that flag VPN usage
How to Enable:
- Check your VPN’s advanced settings
- Enable split tunneling
- Add the apps you want to exclude from VPN coverage
This ensures that only sensitive data is encrypted, while other apps maintain functionality.
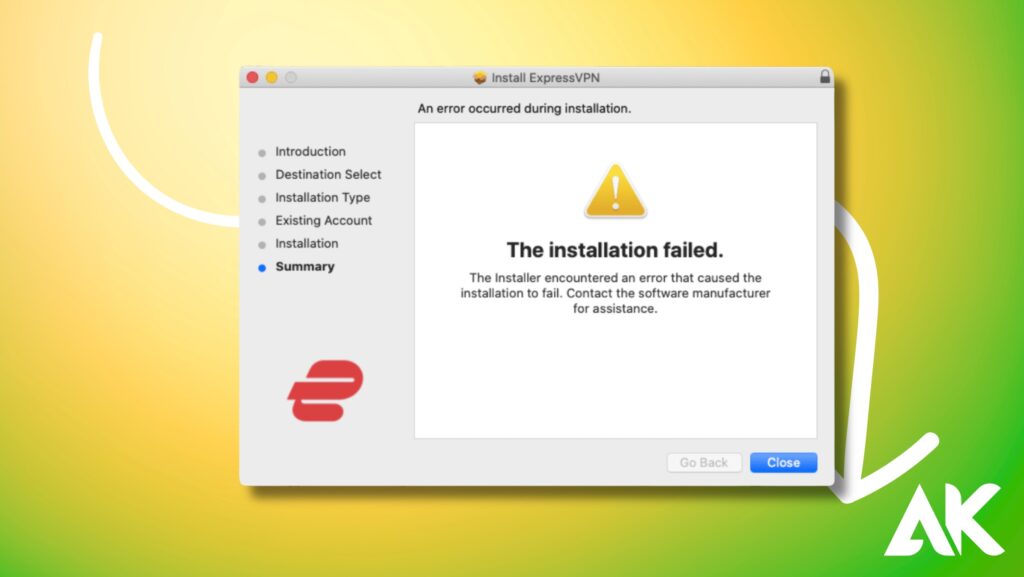
Tip 6: Reinstall the VPN App
Sometimes, app files get corrupted or improperly installed. A full reinstall can eliminate hidden issues.
Step-by-Step:
- Quit and uninstall the VPN app
- Go to
~/Library/Application Support/and delete related VPN files - Restart your MacBook Air
- Download the latest version from the VPN provider’s website
- Reinstall and log in
Avoid using third-party app stores; always download directly from your VPN provider for the latest, safest version.
Tip 7: Check for App or Security Conflicts
Other software may interfere with your VPN connection.
Common Conflicts:
- Antivirus software: May block or throttle VPN traffic
- Firewall apps: Custom firewall rules might block VPN ports
- Other VPN apps: Multiple VPN installations can clash
Fix:
- Disable other VPNs or security apps temporarily
- Try connecting to your VPN again
- If it works, reconfigure or whitelist your VPN in those apps
Limiting these conflicts ensures smoother performance and fewer dropped connections.
Bonus Tip: Contact VPN Support with Logs
If none of the tips above resolve your issue, it’s time to contact your VPN provider’s support. Most premium VPNs offer:
- 24/7 live chat or email support
- Log file submission options
- Remote troubleshooting guides
When reaching out, include:
- Your macOS version
- VPN app version
- Description of the issue
- Any troubleshooting steps you’ve tried
This helps support staff identify problems faster and offer targeted solutions.
Conclusion: Fix VPN Troubles Easily on MacBook Air
Whether you’re working remotely, streaming securely, or just browsing with peace of mind, a reliable VPN is essential. But like any software, VPNs can run into issues—especially on macOS where frequent updates and security settings can cause conflicts.
The good news is, with these 7 expert tips for VPN troubleshooting MacBook Air users can quickly regain a fast, secure connection. From switching protocols to adjusting network settings or reinstalling the VPN app, these fixes are practical, effective, and beginner-friendly.
Don’t let VPN issues slow you down—apply these tips and get back to secure browsing today.
FAQs
Question: What should I do if my VPN keeps disconnecting on MacBook Air?
Answer: Frequent VPN disconnections on MacBook Air can be caused by unstable Wi-Fi, outdated software, or protocol issues. Try updating your VPN and switching protocols.
Question: Why is my VPN not connecting on MacBook Air after macOS update?
Answer: macOS updates may reset network settings or cause app conflicts. To fix VPN troubleshooting MacBook Air issues, reinstall the VPN and check compatibility.
Question: How can I fix slow VPN speeds on my MacBook Air?
Answer: To resolve slow VPN speeds on MacBook Air, try switching to a faster protocol like WireGuard, change servers, or use split tunneling for selective traffic.